


In this chapter, we are going to see what links are and how to create them.
Links are one of the most common and useful html elements. Normally, they are used for navigation such as redirecting from one page to another page on same website or page on a different website.
Not only for navigation, links are also used for pointing to the other resources such as image or document such as pdf file to open in a web browser or download it. We are going to see how to achieve it in this chapter.
First, copy our basic html template and create a new file named as ‘links.html’ in your choice of editor.
To html body, add the following content.
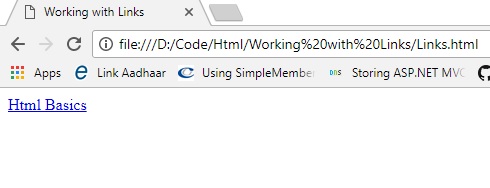
<a href="~/basics.html">Html Basics</a>
To create a link we need to use an anchor tag <a>.
As you can see we have an opening and closing anchor tag with letter small ‘a’. Within the tags, we have written the caption or label that will be visible to the user to click on. In our case, the label is ‘Html Basics’.
Anchor tag has an attribute ‘href’ where we assigned the URL of the target page where we want a user to navigate when he or she clicks on a link.
In our case, we want to redirect a user to Html basic page so we have written its URL as ‘~/basics.html’.
Relative path:
Note that this URL path is a relative path.
The tilde ’~’ sign indicates the root of the application or the website.
Then after forward slash, we have written our name of html file. Our file is stored in the root directory of our website.
Suppose, our target file is within the folder ’abc’ then we have to write our URL as ’~/abc/basics.html’. This indicates that in root directory there is a folder named ’abc’ and within that folder our target file ’basics.html’ is present.
Suppose our source page (i. e the page where the link is present) and target page (i.e. the page where we want to go when clicks on the link) are present in the same folder either in the root directory or any other folder or subfolder then we don’t have to use tilde sign to indicate path from root directory as follows.
<a href="basics.html">Html Basics</a>
This means that both our files ‘lnks.html’ and ‘basics.html’ are present in the root directory or in any other folder or sub-folder such as ‘abc’. So no need to look from the root directory and target file will be searched within the same folder location.
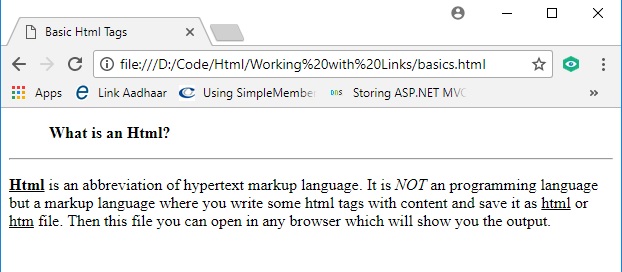
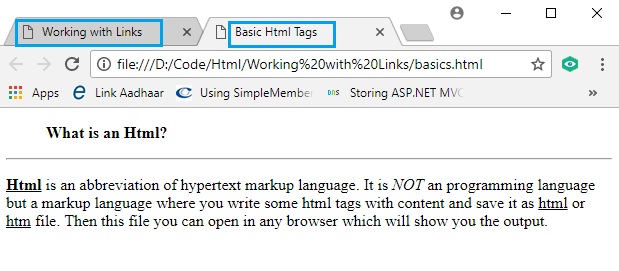
When a user clicks on the link ‘Html Basics’, application will redirect to the page basics.html.
Now save our html file and open it in a browser. Then click on the link. This will open our basics.html page.
Absolute path:
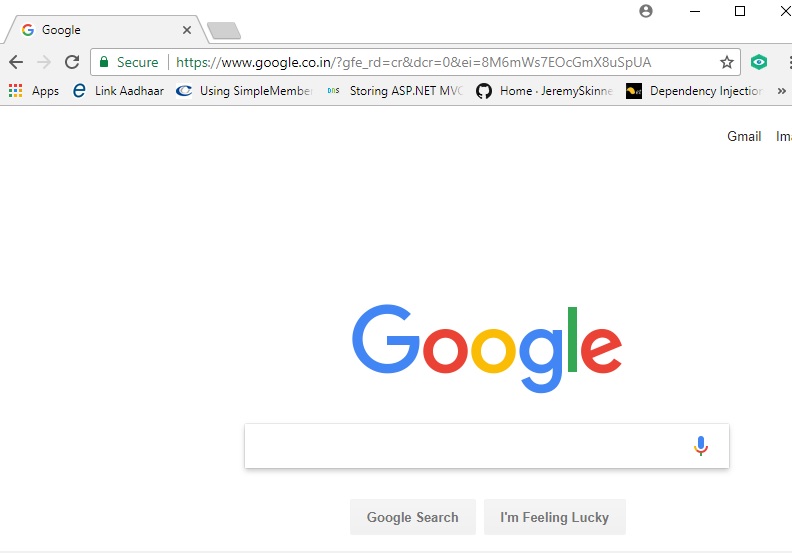
When we want our link to redirect to another website page, then we have to assign absolute URL path to ‘href’ attribute as follows.
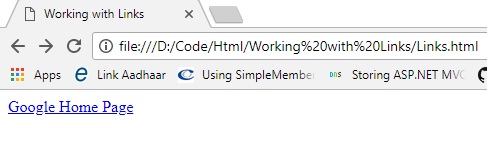
<a href="http://www.google.com">Google Home Page</a>
Here we have written a simple anchor tag to help a user to go to Google home-page simply by clicking our link instead of opening other tab and type URL for Google page.
Note that for ‘href’ attribute we have assigned the URL of Google home-page.
Opening target resource in browser’s new tab:
With the previous link code, whenever we click on the link we get the target page opens in the same tab. When we have to go back to the source page again we have to press browser’s ’back’ key normally present on the left top corner of the browser’s tab.
Suppose we want to open the target page but also don’t want to close the source page so that user can come back to source page any time then we have to use another attribute of anchor tag ‘target’ and give it a value as ‘_blank’ as follows.
<a href="basics.html" target="_blank">Html Basics</a>
Now, whenever a user clicks on the link ‘Html Basics’ from our source page ‘links.html’ it will stay open and our target page ‘basics.html’ will be opened in the new tab. With this feature, a user can switch back and forth from source page to target page anytime he wants.
Note here that every time a user clicks on the link, target page will be opened in new tab. That means if a user clicks on link two times, he will end up having one source page tab and two target page tabs.
Opening resources:
Suppose, we have a scenario where we have to open a pdf file in a browser to be read by the user then we can provide a link to the pdf file using anchor tag in our html page and when the user clicks on the link open pdf file in a new tab.
For example, if our pdf file is in the folder named ‘documents’ which is in the root directory then we can write a link as shown below.
<a href="~/documents/htmlfundamentals.pdf" target="_blank">Html Fundamentals Ebook</a>
Try this yourself as an assignment.
Image Links:
Often we need to give a link to the image so that when a user clicks on the image it should redirect to the target resource page.
One of the common examples of a clickable image is a thumbnail image. A thumbnail image is a little bit smaller in size and when a user clicks on that image it will redirect to the other page where a user can see a larger image along with other information.
Creating a clickable image is easy. We just have to wrap the ‘img’ tag within the anchor tag as shown in the following code.
<a href="~/documents/htmlfundamentals.pdf" target="_blank">
  <img src="~/images/picure1.jpg">
</a>
As you can see we have wrapped our image tag within the anchor tag. When a user clicks on the image, he will be redirected to other page displaying target file (pdf) content.
Try this yourself as an assignment.
Now you have knowledge of how to create links. You will be able to use links easily in any of your html pages whenever required.